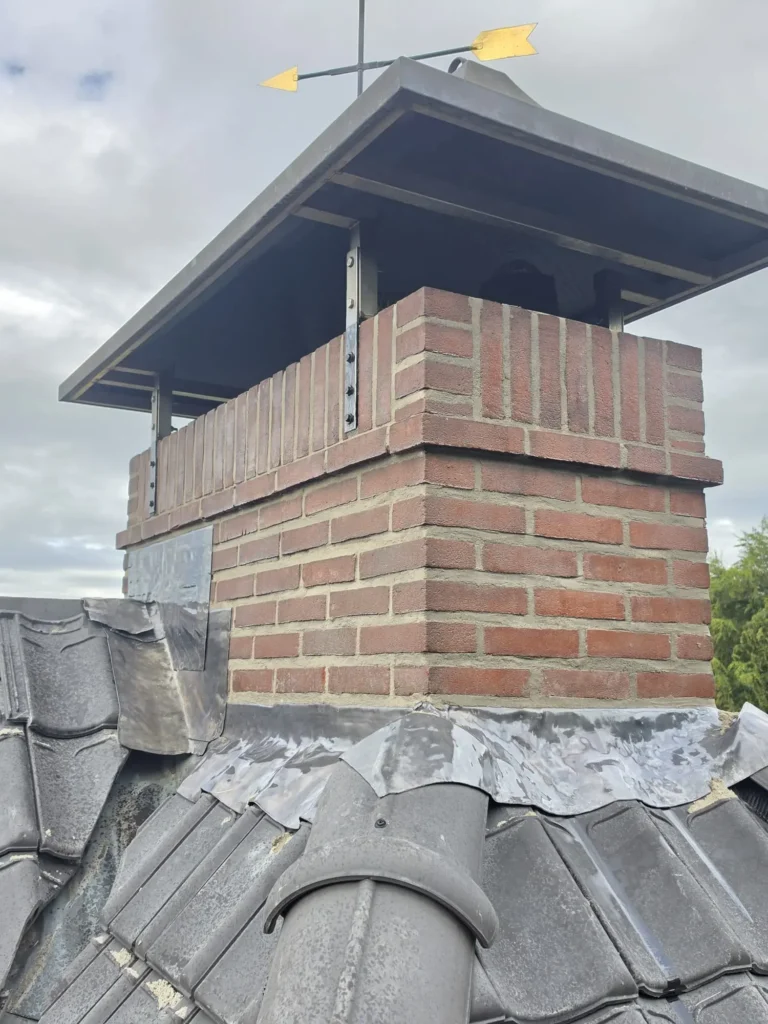
Leadwork is the part of a roof where the difference between good and mediocre work shows most clearly, just not straight away. On completion, poor leadwork looks exactly like good leadwork. You notice the difference after year eight.
That is why this is one of the few parts I like to explain properly. Then you can ask about it yourself.
The four rules of good leadwork
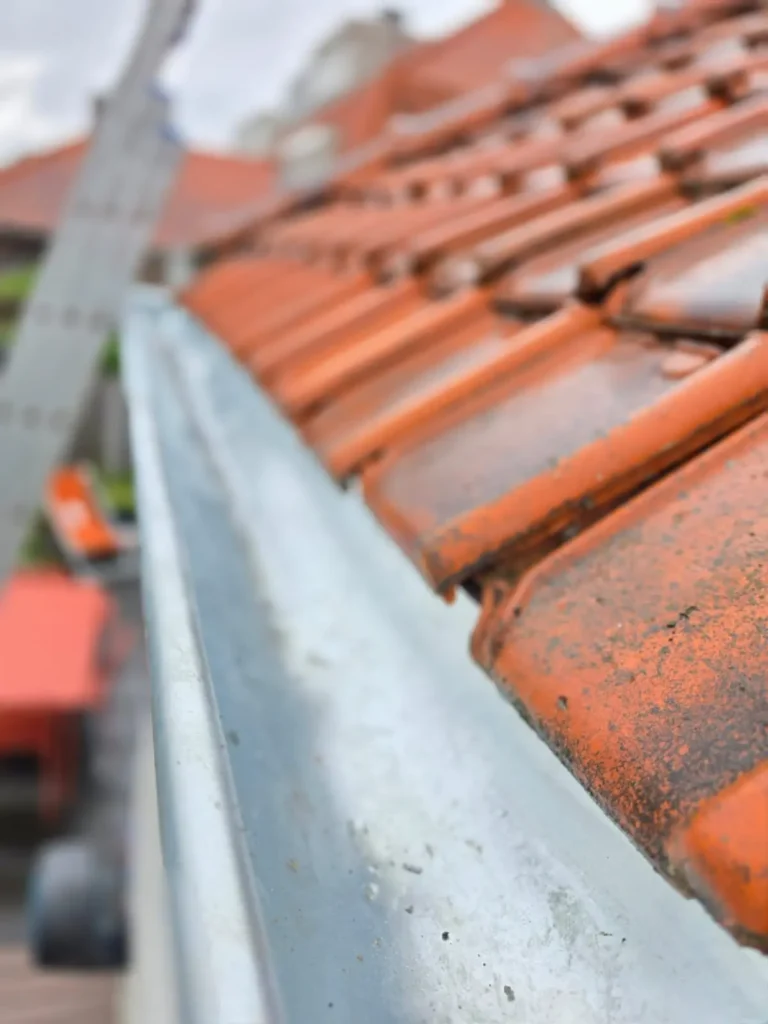
Generous overlap. Lead that guides water over the tiles has to reach far enough over those tiles. A tight overlap works in normal rain, but not in driving rain that is pushed upwards.
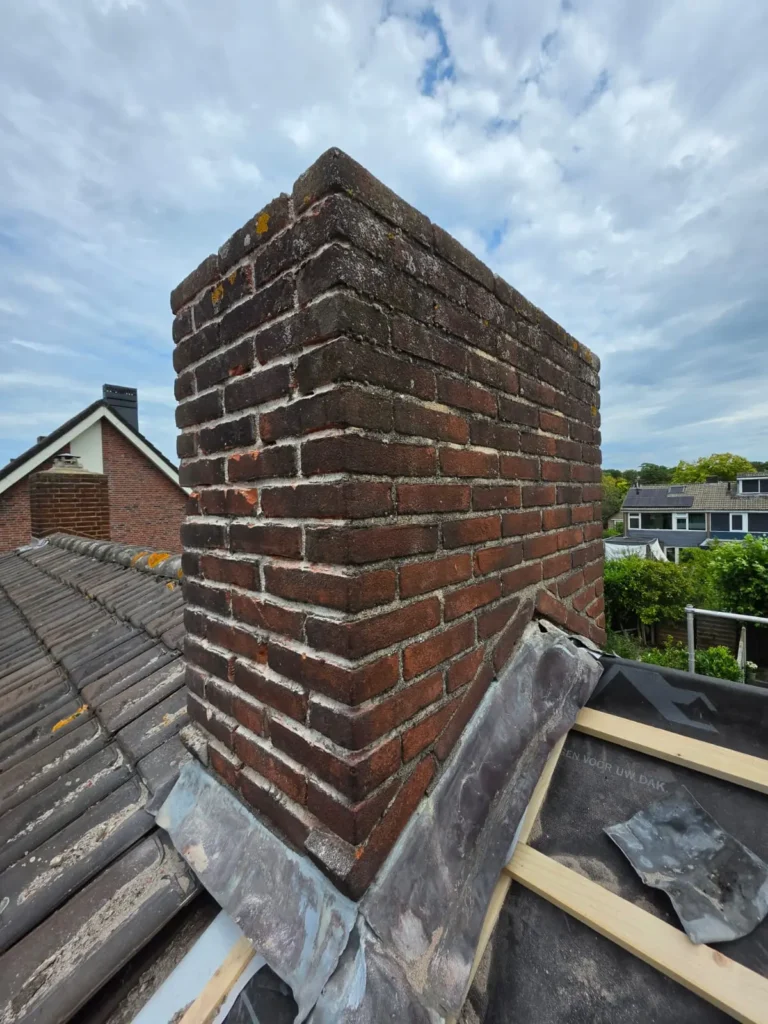
Worked into a raked-out joint. The lead should go into the brickwork, in a joint that has been raked out and then refilled. Lead that is only stuck to the wall with sealant comes loose within a few years.
Short enough per piece. This is the most important and least known rule. Lead expands with temperature. One long piece cannot absorb that movement and cracks at the fold. That is why you work with shorter pieces that overlap each other.
Free to move. Lead that is fixed on two sides is under stress with every change in temperature. One side fixed, the other free.
“The classic mistake is one nice long piece of lead. It looks neat and cracks exactly at the fold eight years later.”
Fouad, owner of Astrodak Service
Where leadwork is found
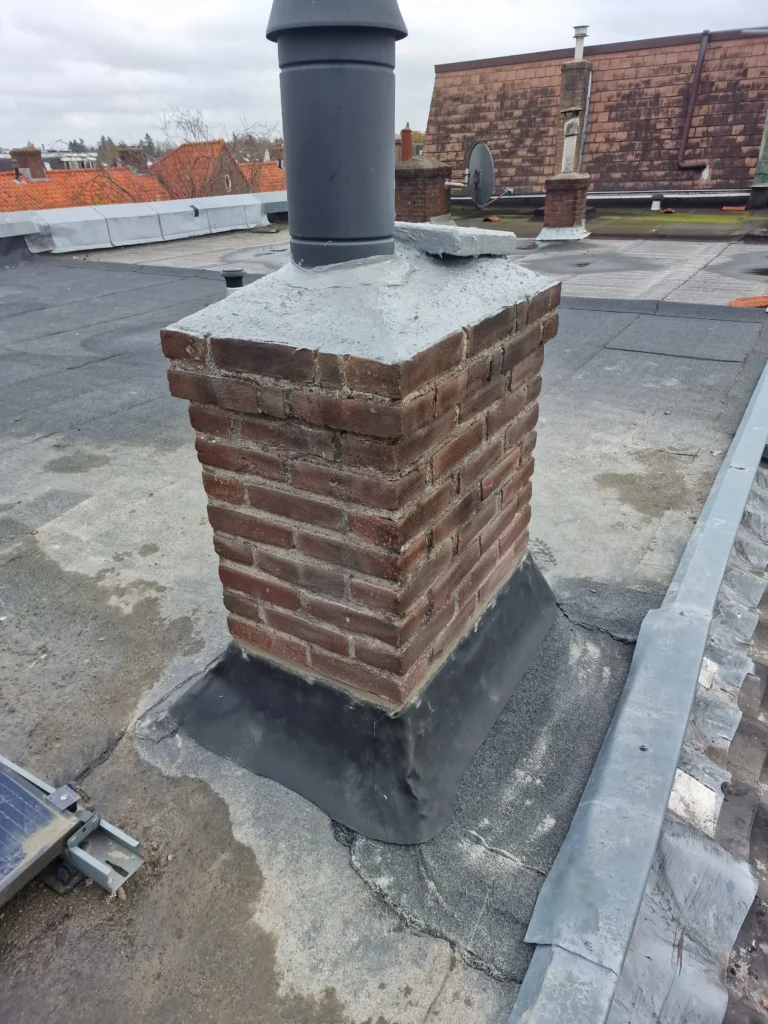
Around the chimney is the best-known place, but not the only one. At a wall abutment where the roof meets a higher wall, all around a dormer, in the valley gutter where two roof slopes meet, at a roof window and at wall copings.
On a thirty-year-old roof, the lead in all those places is the same age. If one place fails, it is often the first of several, and that is why we also check the other junctions when we repair lead. See
valley gutter leaks and
leaks at a dormer.
Lead
40 years or more
when properly fitted
Not sure about the right approach?
I would rather come and look at your roof with my colleagues first than come up with a solution from a distance. During the free inspection you hear what is really needed, even if that is less than you thought.
What you can see yourself
From a roof window or a safe spot: is the lead lifting anywhere, is there a small crack at the fold, or has the lead come out of the joint with a strip of sealant over it? That last one is usually an earlier emergency repair and means the lead has already failed once.
In the attic: water rings on the roof boarding next to the chimney, or white lime streaks running from top to bottom. See
following the water trail.
Lead or an alternative
There are lead substitutes on the market: flexible strips with an aluminium or plastic core that are applied with an adhesive layer. They have advantages, especially in places where lead is hard to fit and for environmental reasons.
For a main chimney junction on a house, I usually still choose lead, because it lasts longer when properly fitted and the material can be dressed better to the shape of the tiles. See
lead or a lead substitute and the
page on chimney repair.
Why you do not work over old lead
A tempting fix for a leaking flashing is to lay a new strip over the old one, or run a strip of sealant over the fold. That works for a season. The old lead keeps moving underneath, the new layer cracks with it, and the moisture that has got behind it by then cannot escape.
That is why the old lead comes out before new lead goes in. That means lifting tiles, raking out the joint and working the new lead back in with a generous overlap. More work, and it is the only approach that lasts for decades.
Frequently asked questions about leadwork